To learn about how to import DXF files into Adobe Illustrator, please check How to import DXF into Adobe Illustrator
In this tutorial, we are going to explain how to create 3D design mockups using DXF files.
This tutorial is part of a series titled How to prepare artwork for 3D Mockups
Notice the markers on the corners!
Please note that when you download the DXF file, there are 4 markers on each corner. Those markers are on the “symbol” layer.
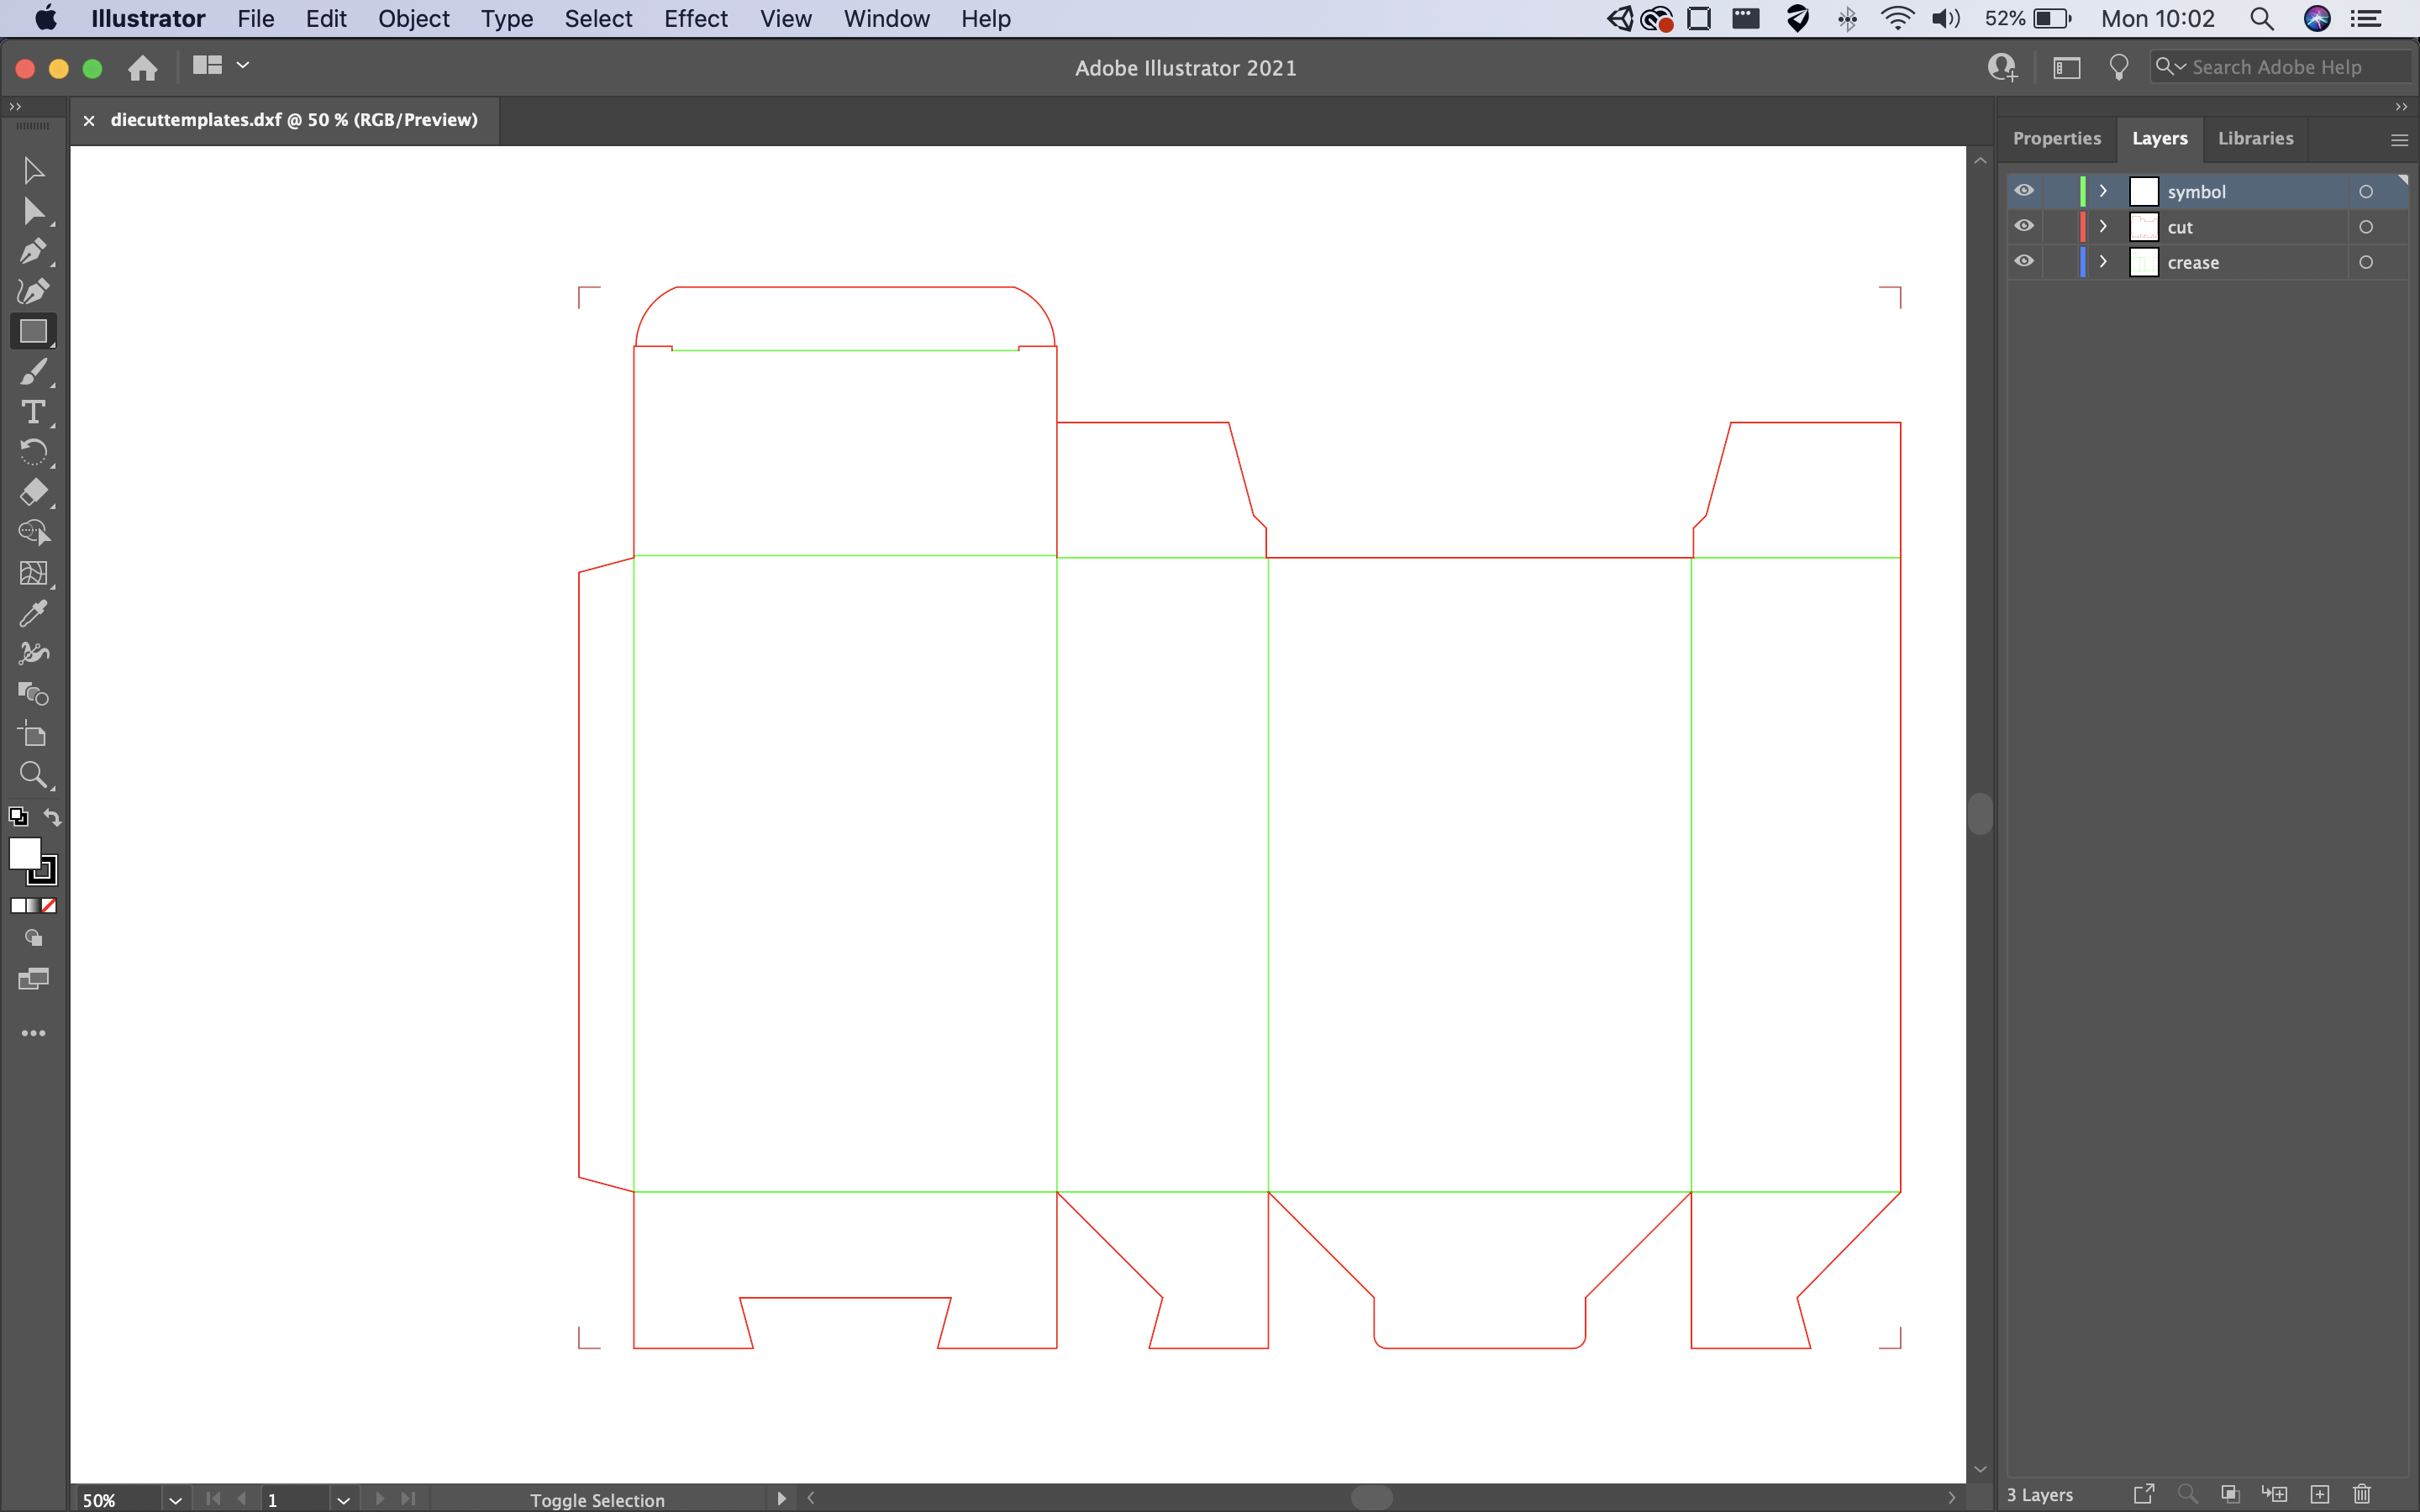
Those markers are important because they mark the edges of the dieline. When we export this file, we want the 4 edges to match those markers for the mockup to work properly. In other words, the exported file should include only the area between those 4 markers.
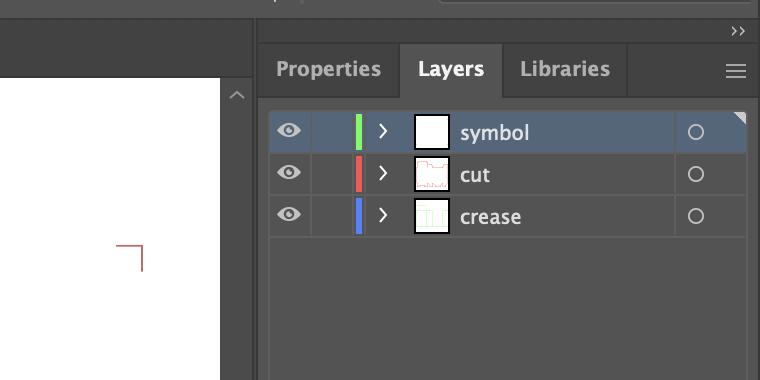
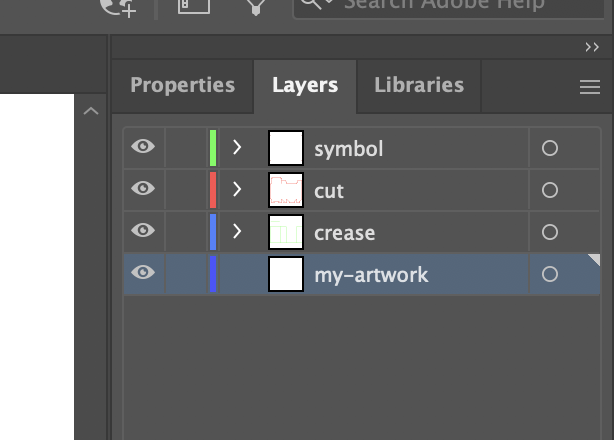
Create new layer(s)
Create a new layer to include your artwork. We are going to use the existing layers as a guidance and will not change them.
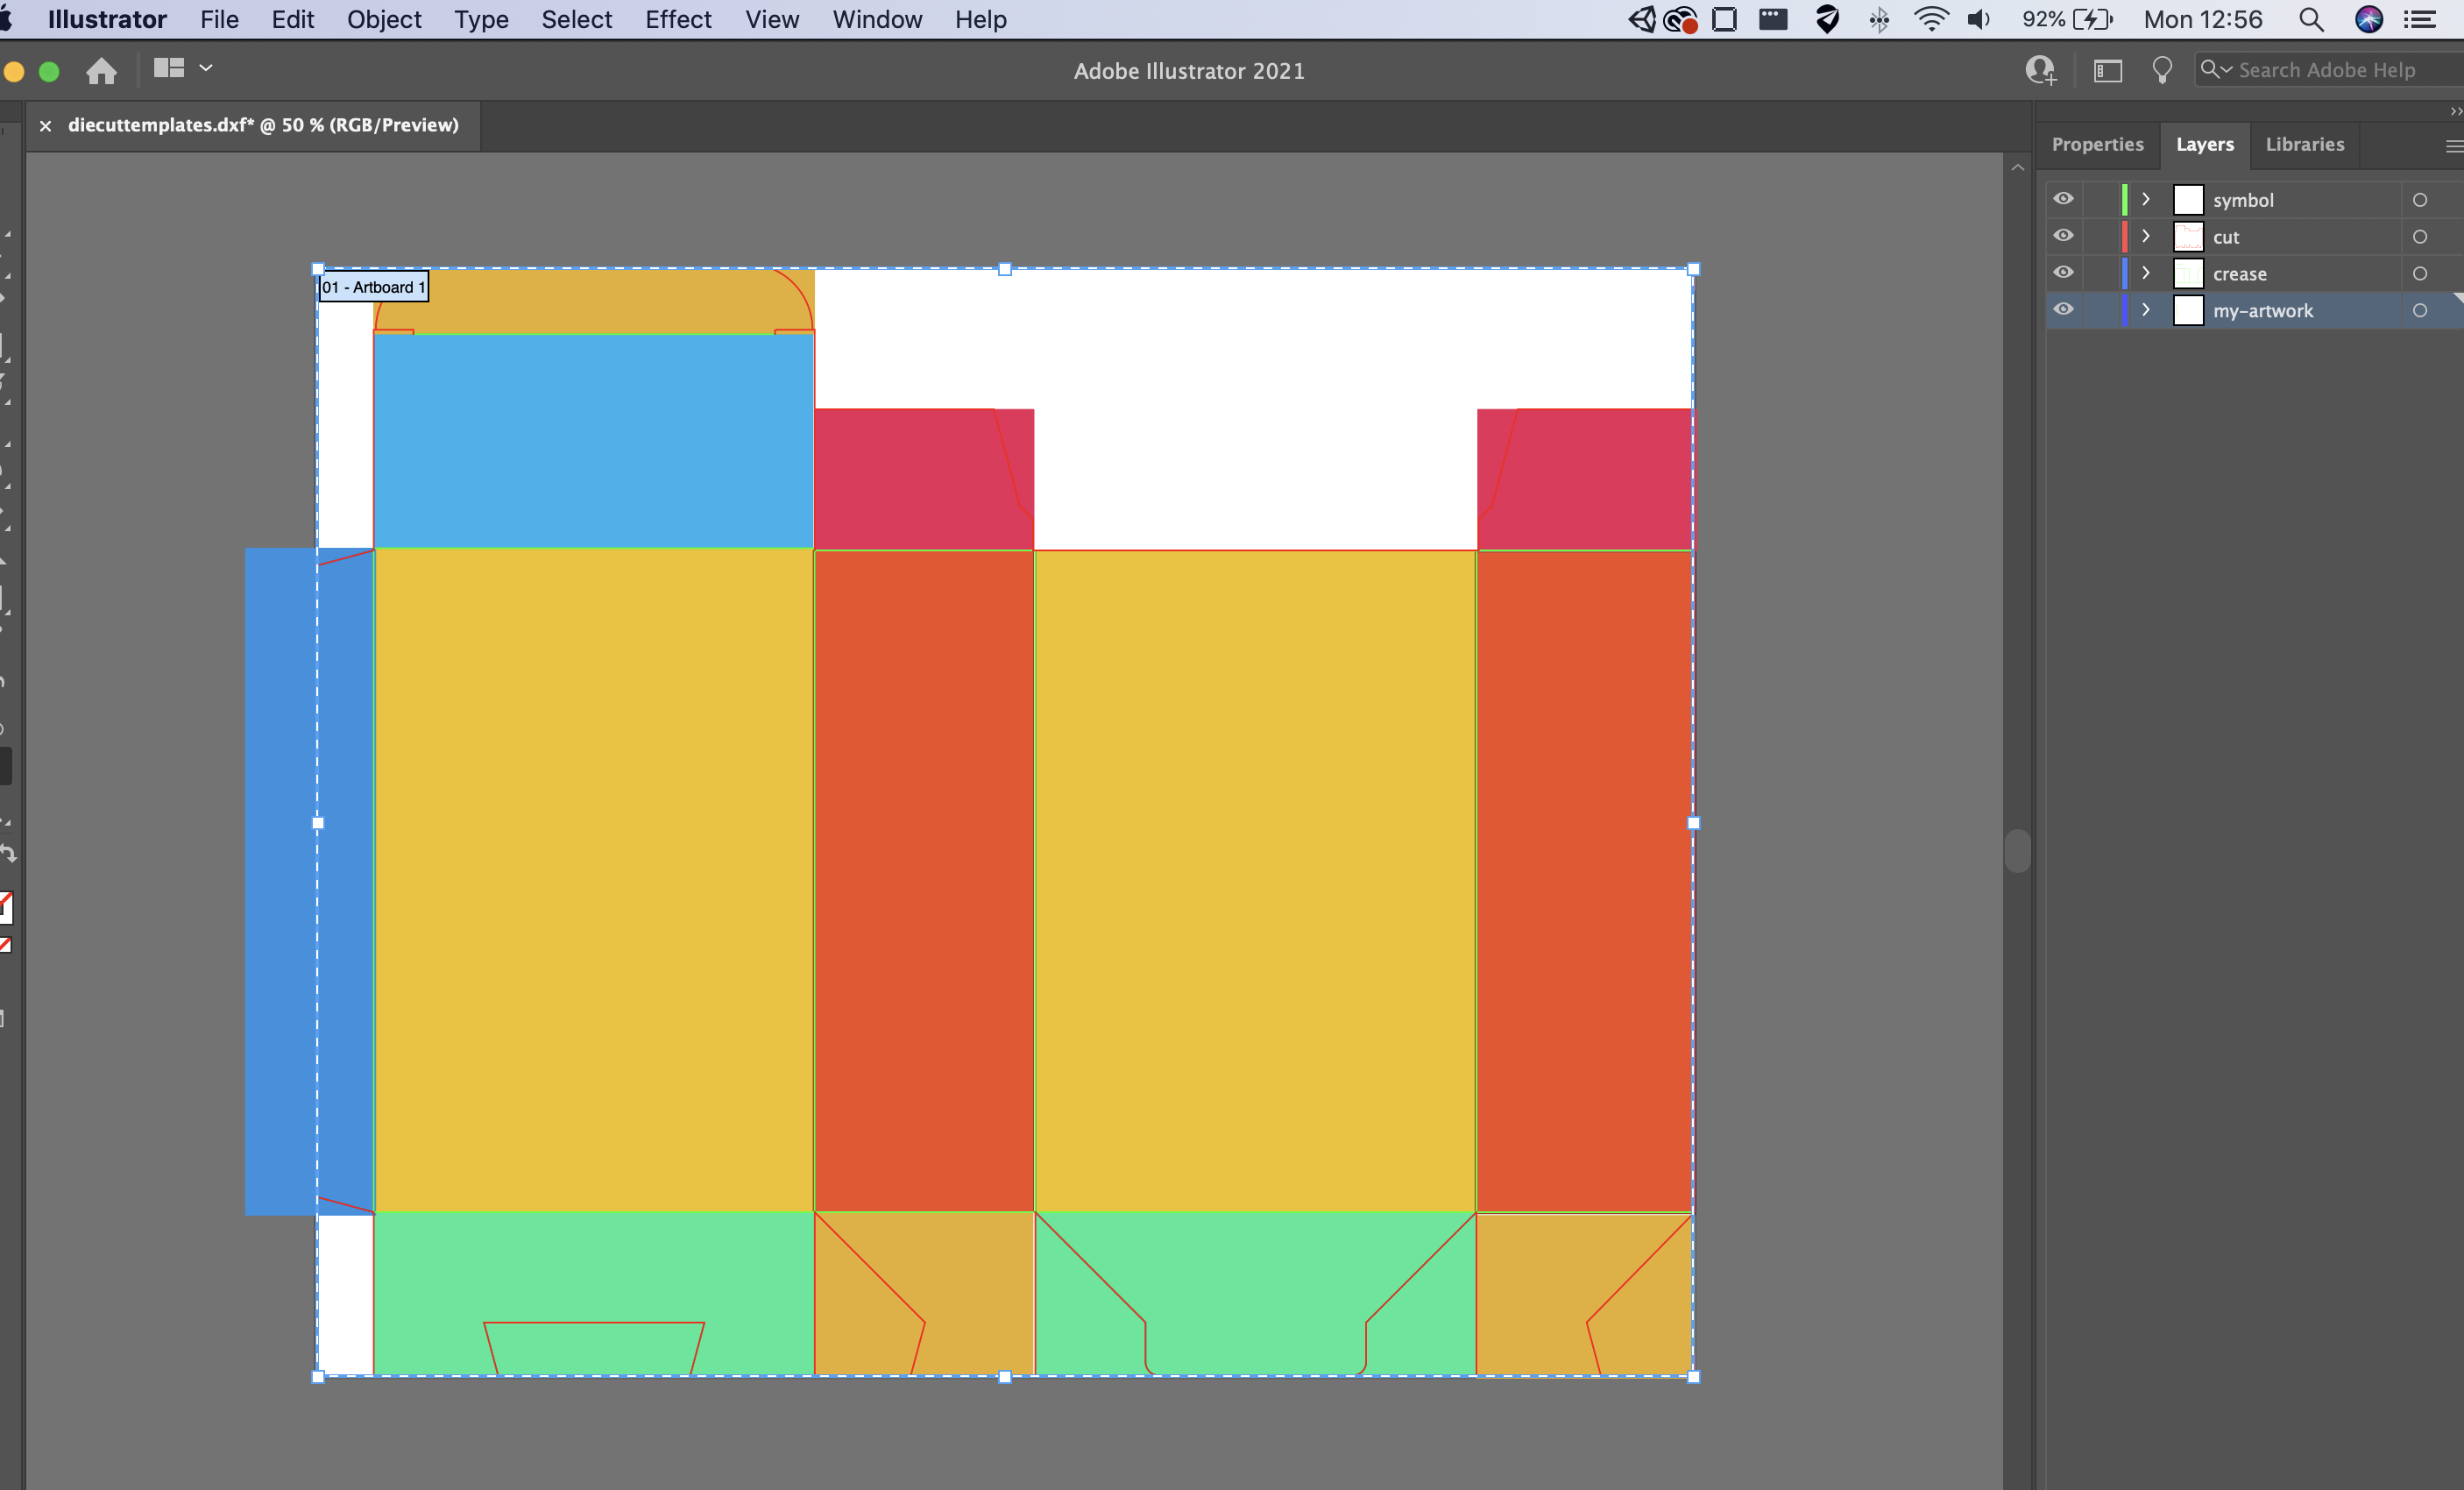
Include the artwork etc.
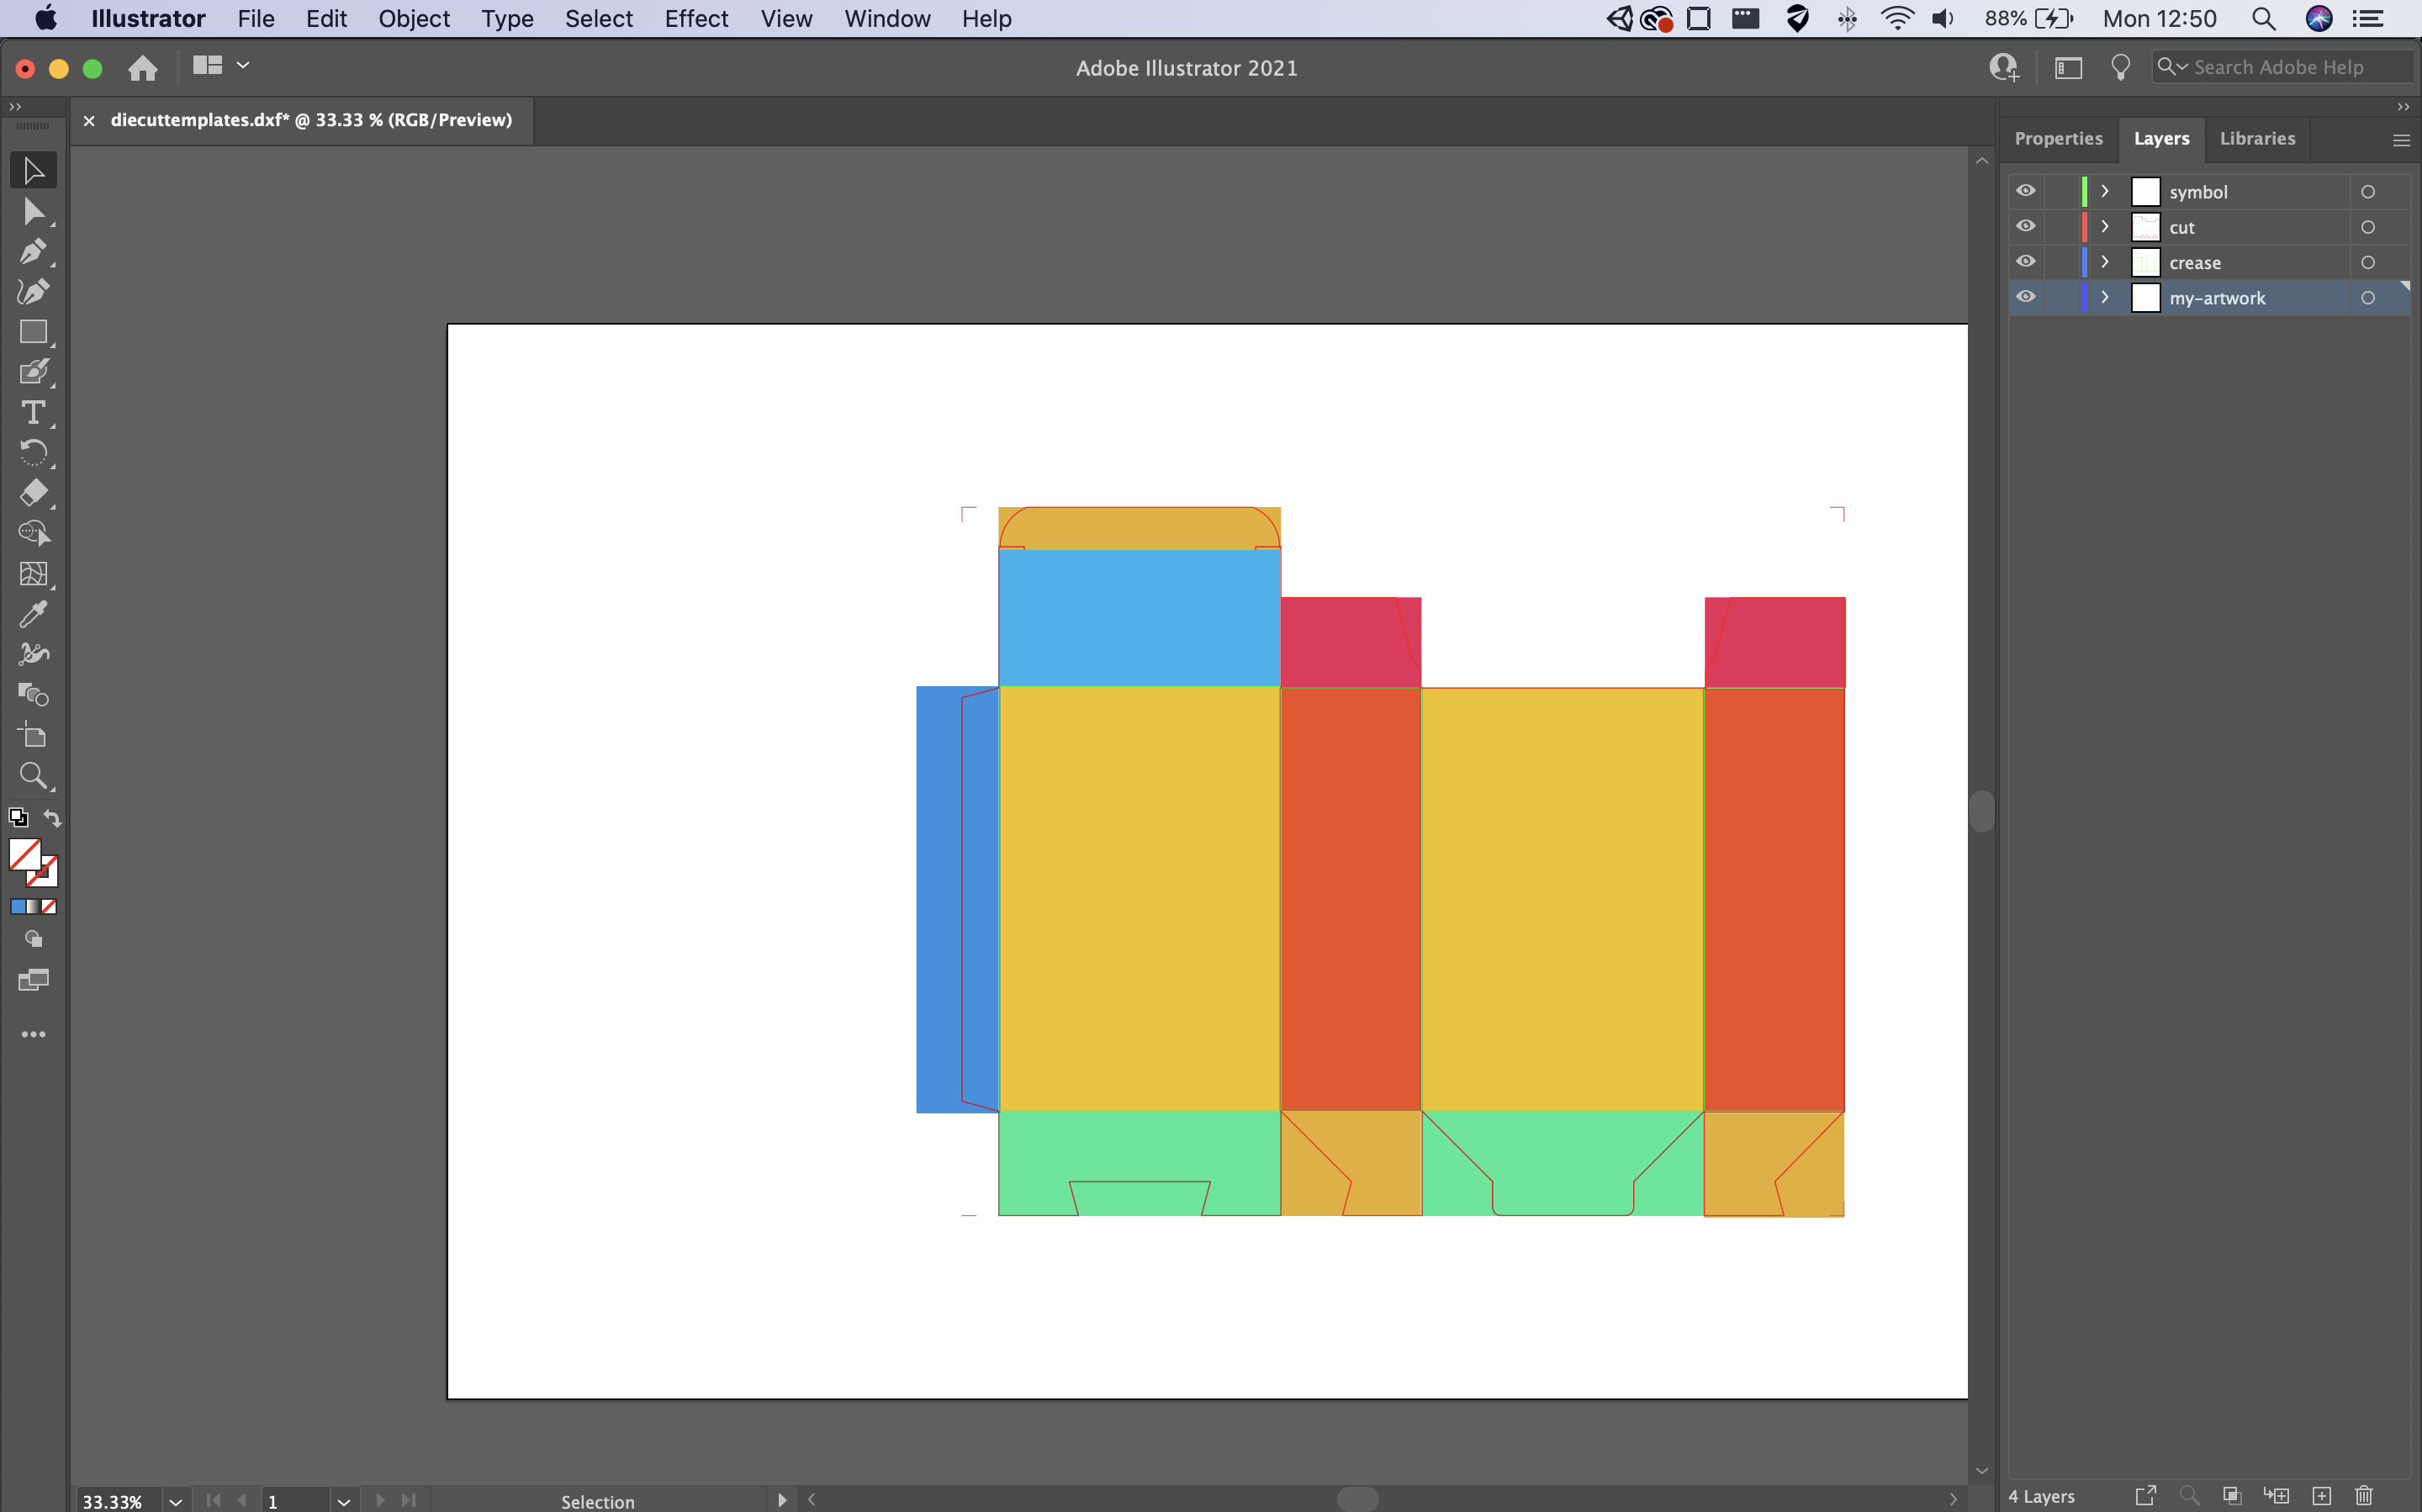
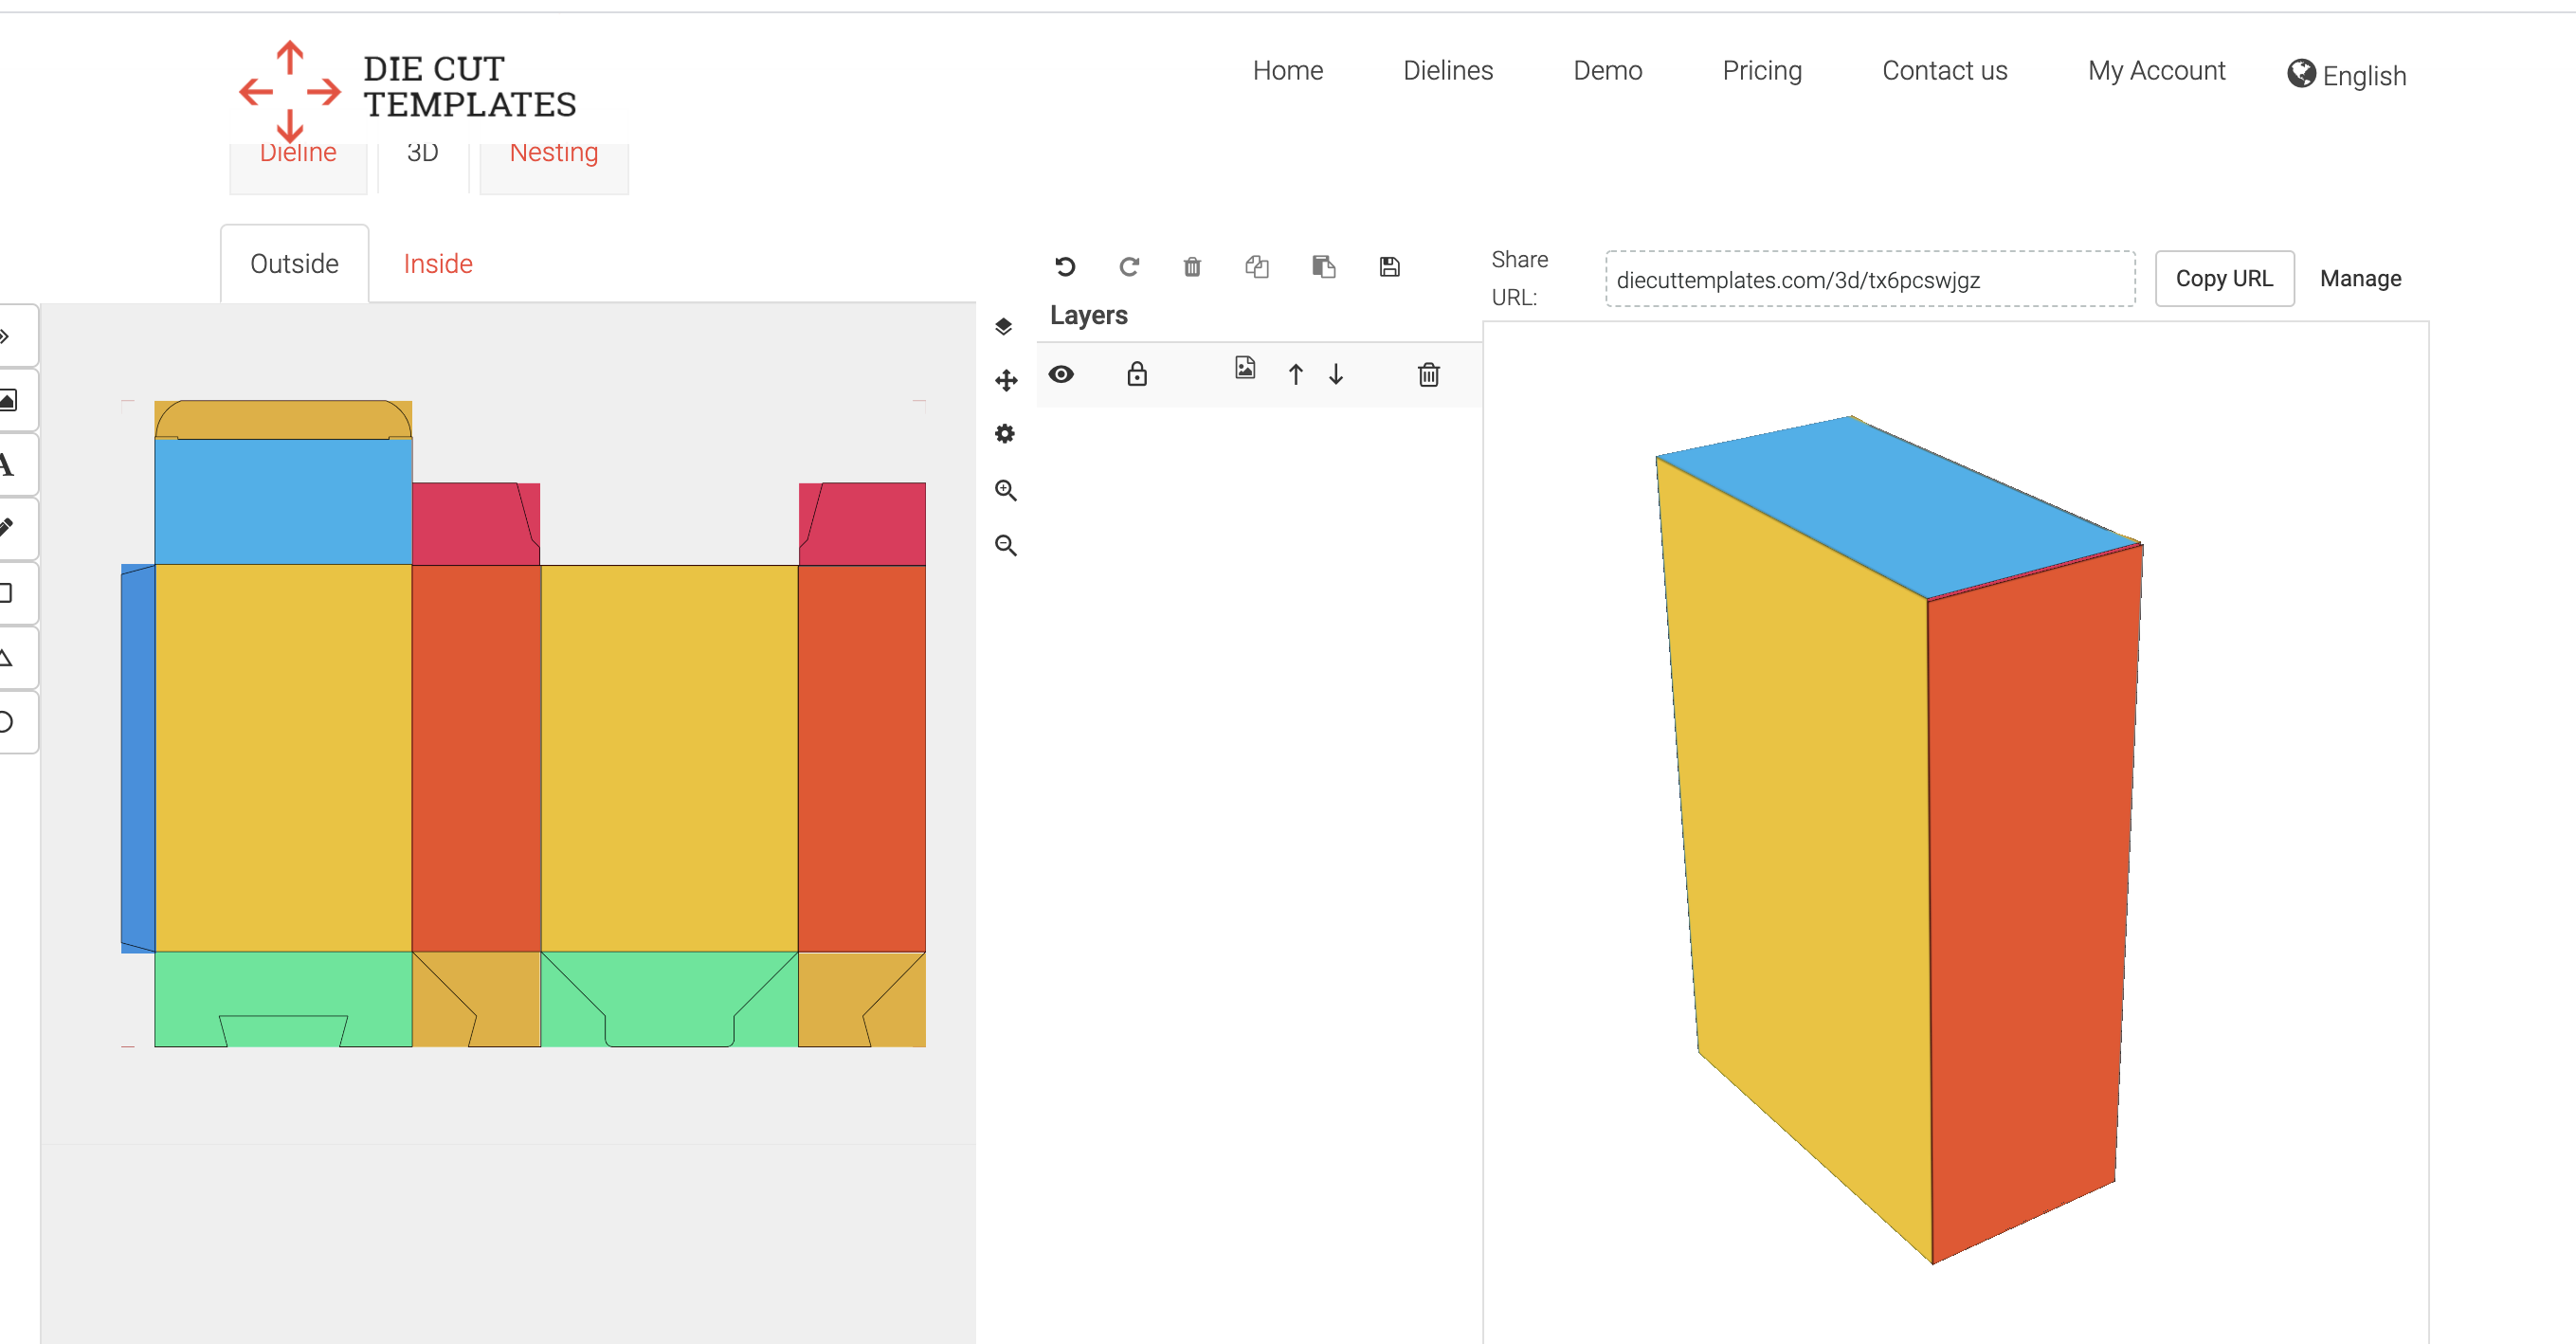
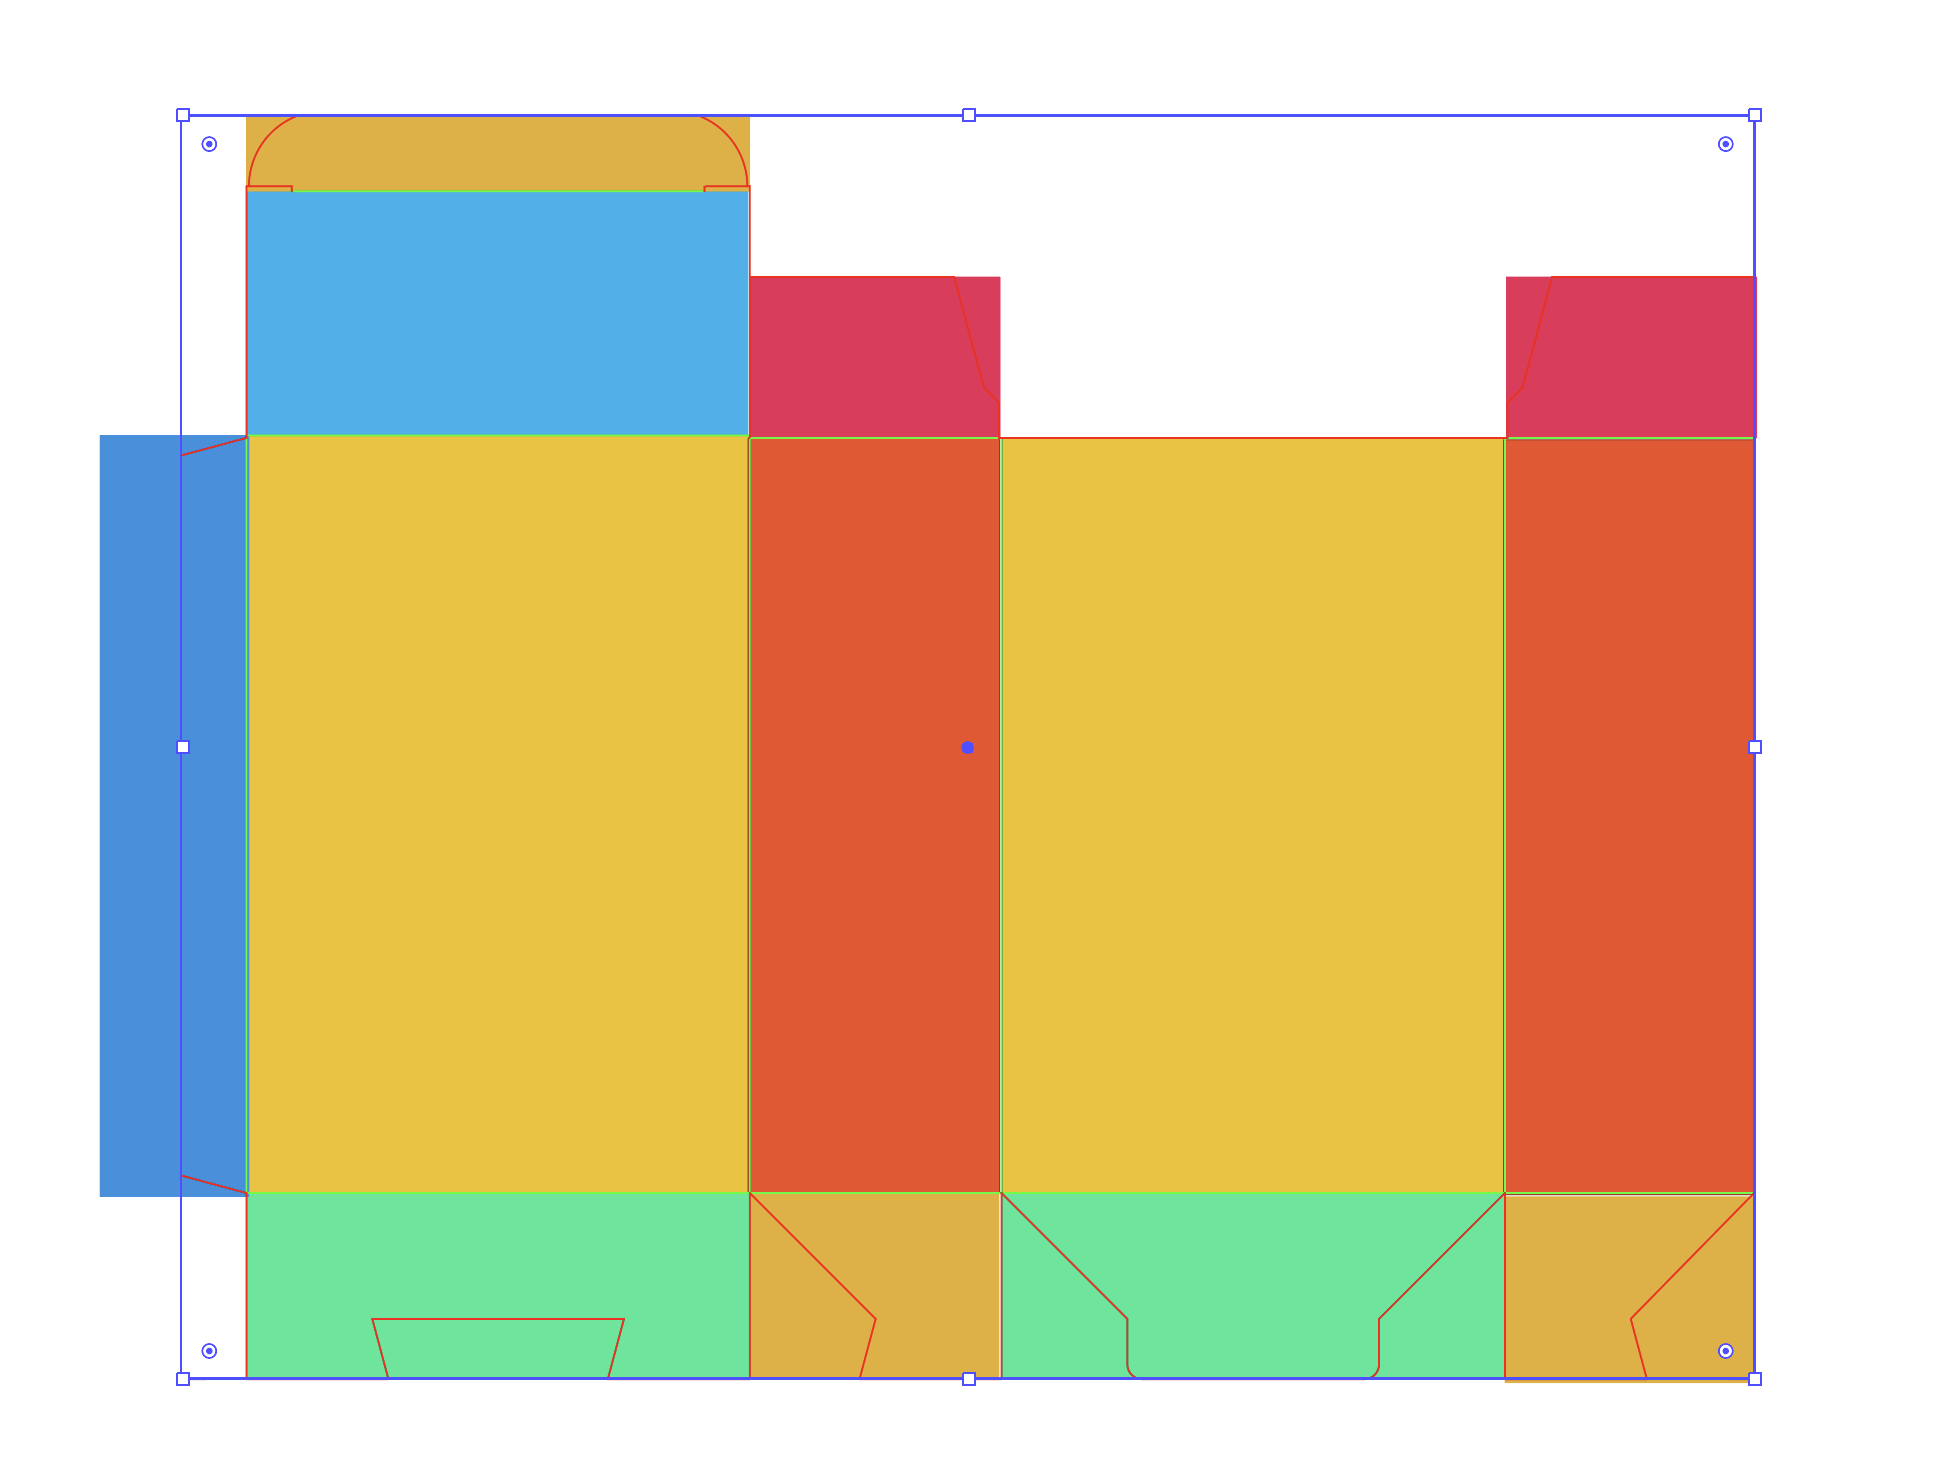
This is the creative part! Add your logos, designs and artworks for your packaging! For this tutorial, we just added simple colours for each side of the box.
Please note that the design doesn’t match exactly the markers we mentioned before. The blue rectangle on the very left is outside of the area between the markers. As mentioned before, we need to only export the area between the markers. We have 2 options to achieve this.
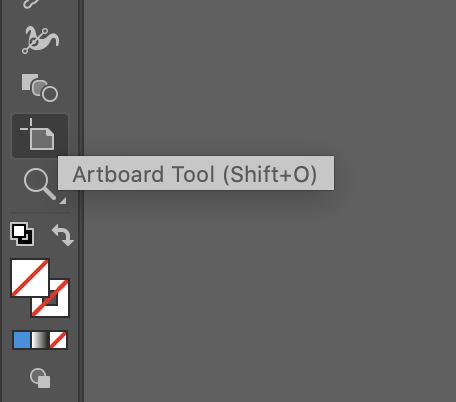
Use the 'Artboard Tool'
Change the artwork (the white background) to match the markers. In order to do this, click on the “Artboard tool”
Resize the Artboard
Using the artboard tool, resize the background to exactly match the 4 markers in the corners.
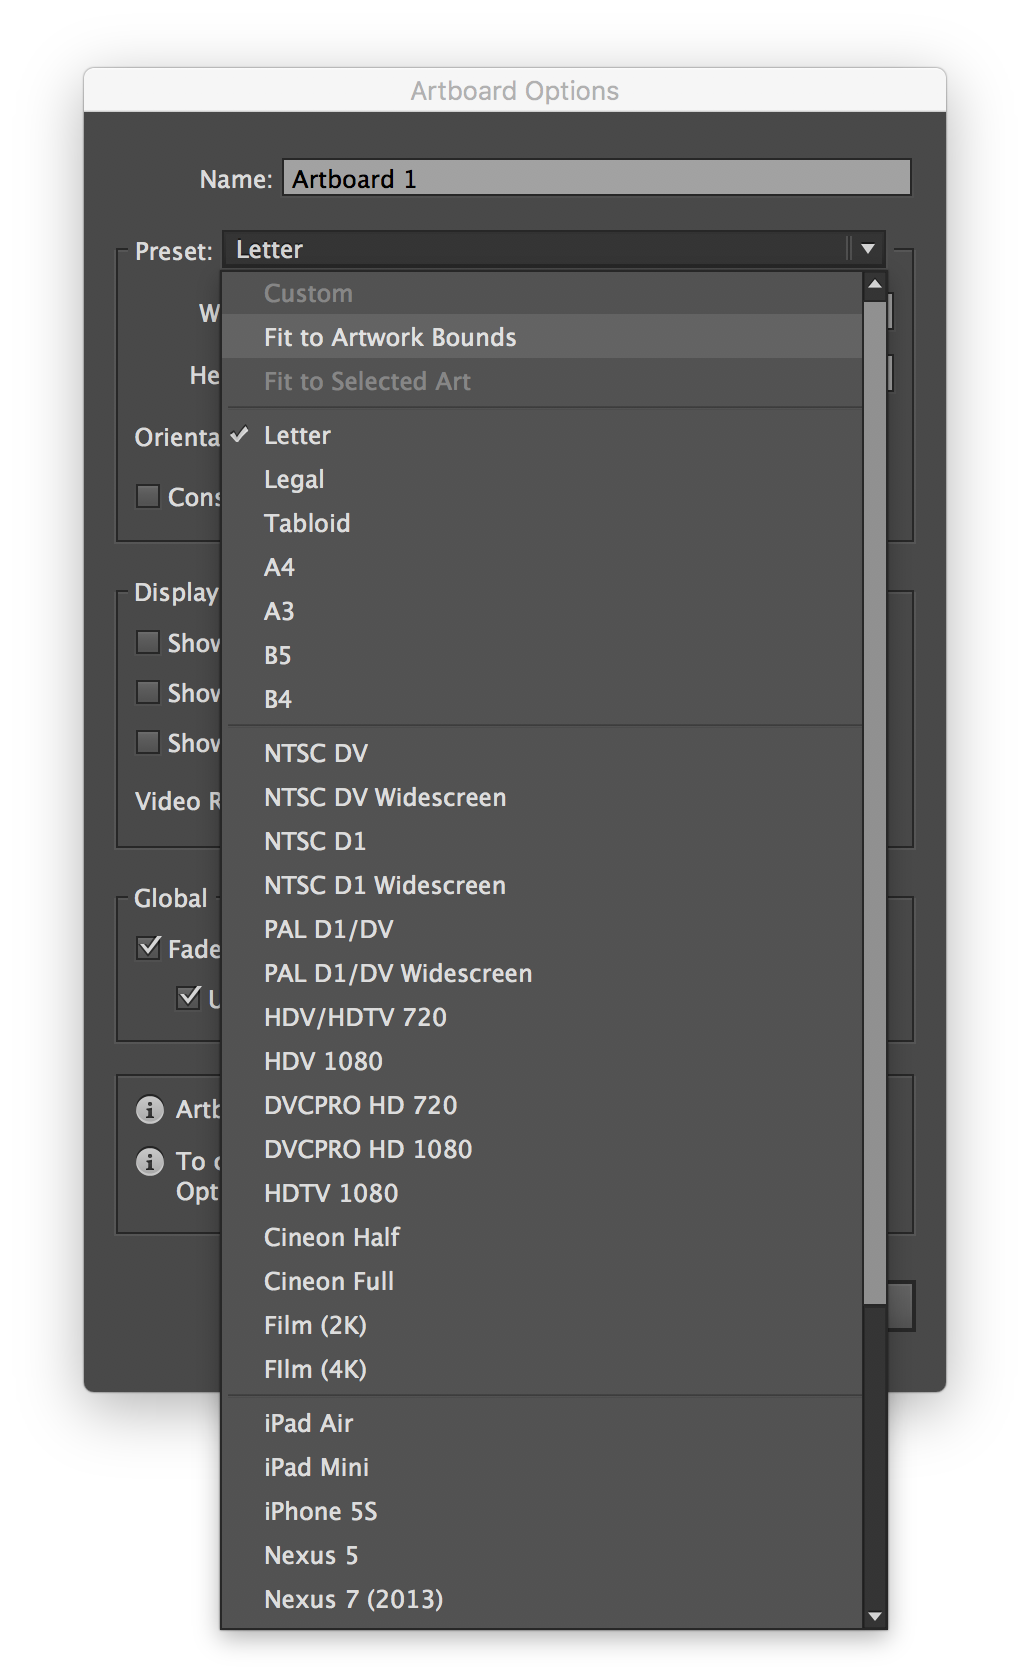
In order to resize the artboard, open the "Artboard Options" and select "Fit to Artwork Bounds" preset.
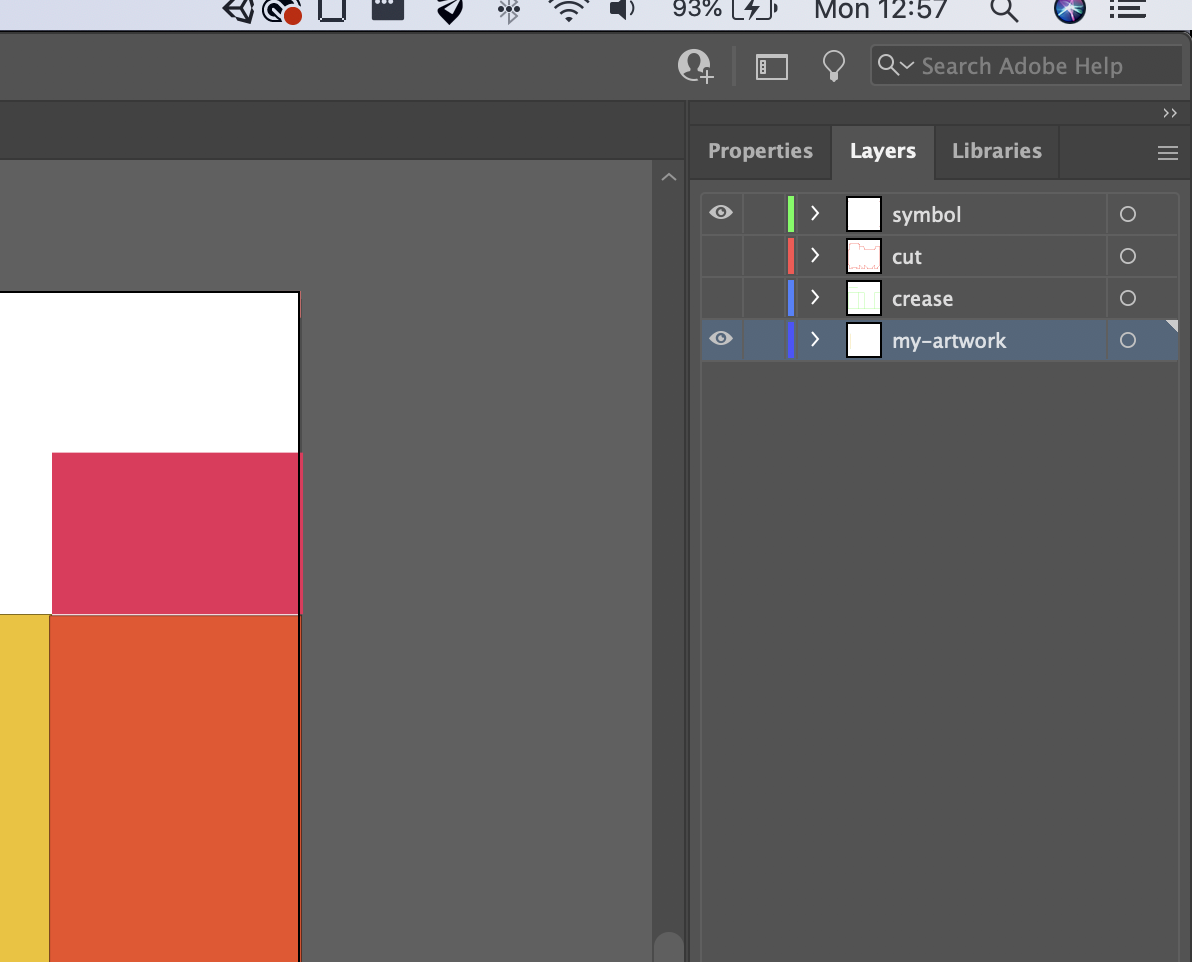
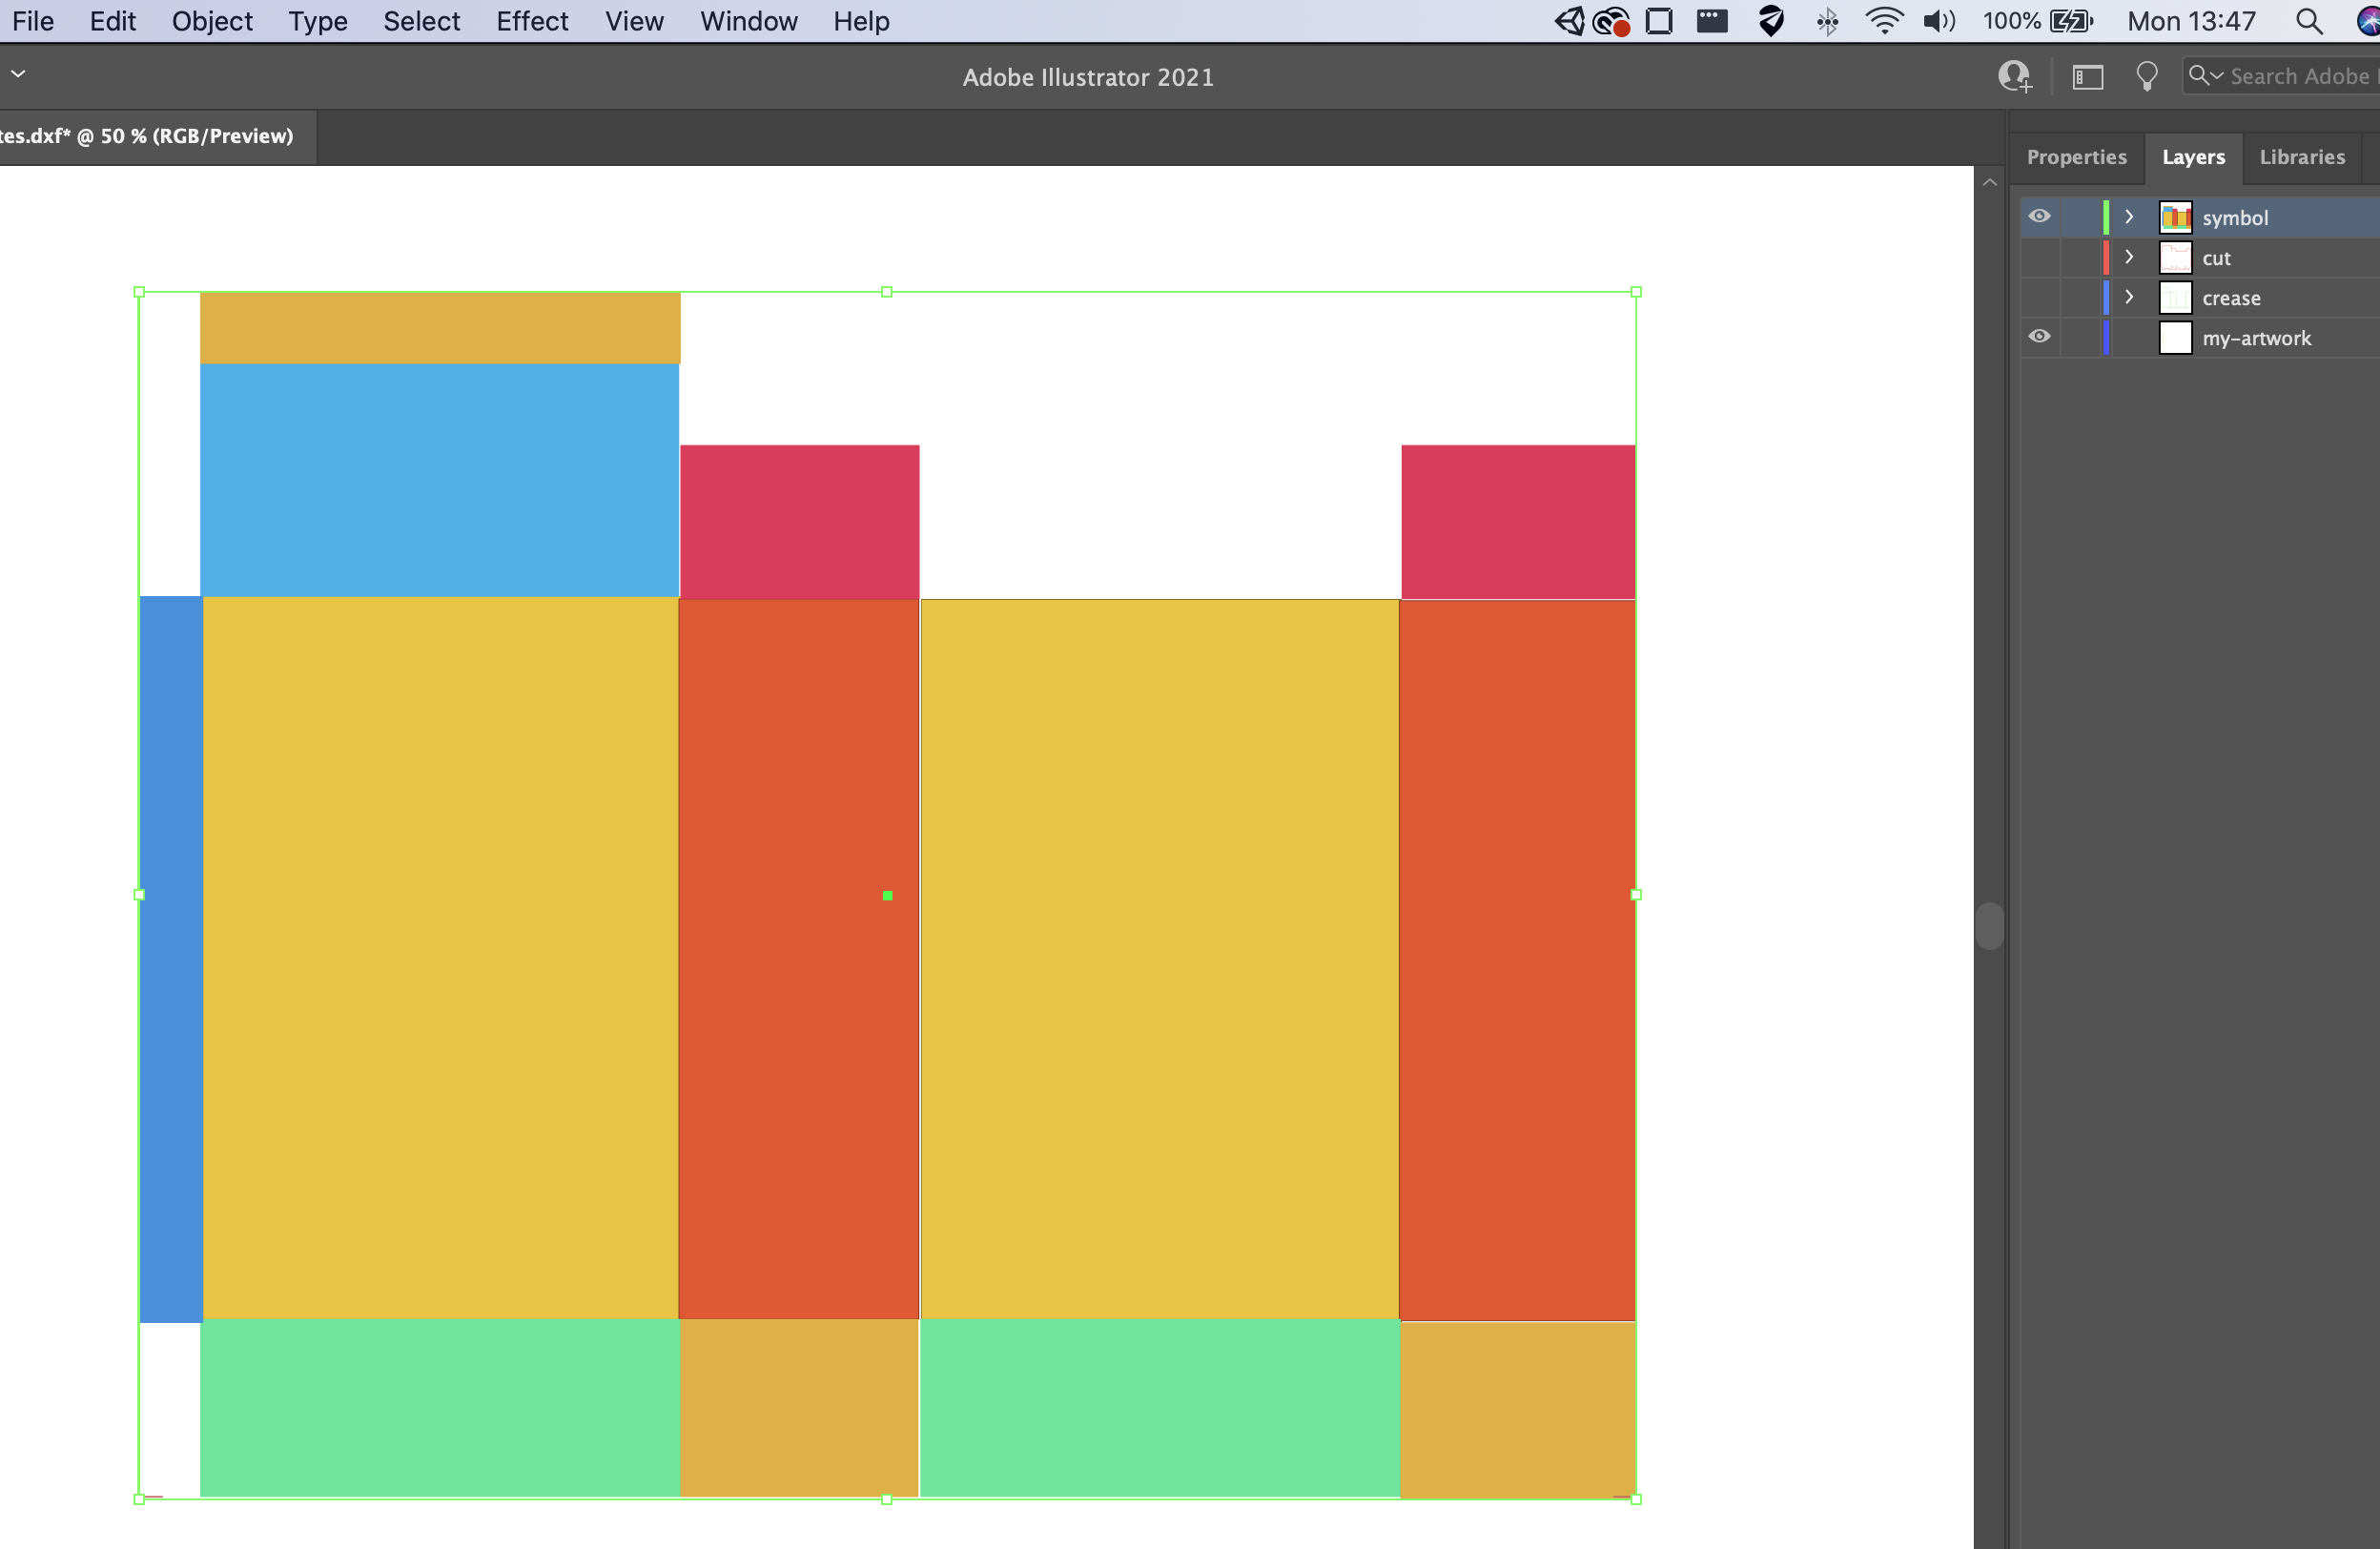
Hide the dieline layers.
Hide the dieline layers as we don't the dieline to be placed on the mockup.
Export the artwork
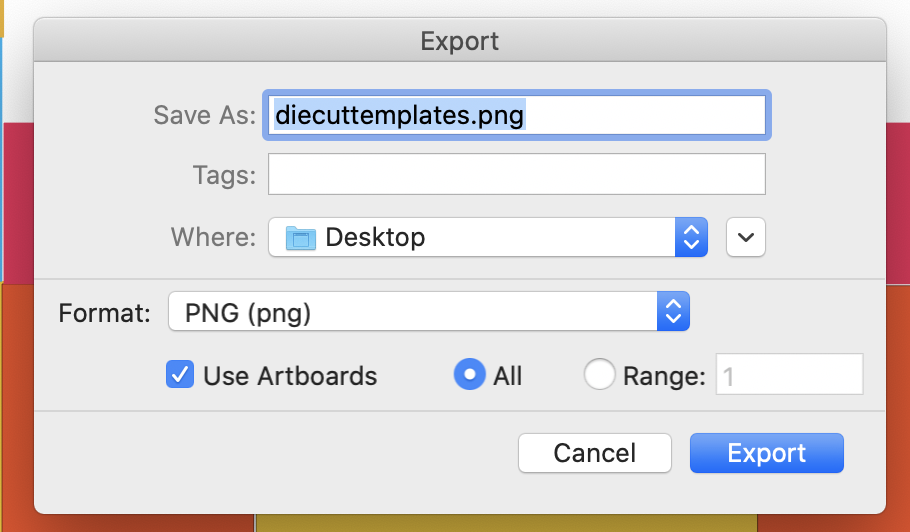
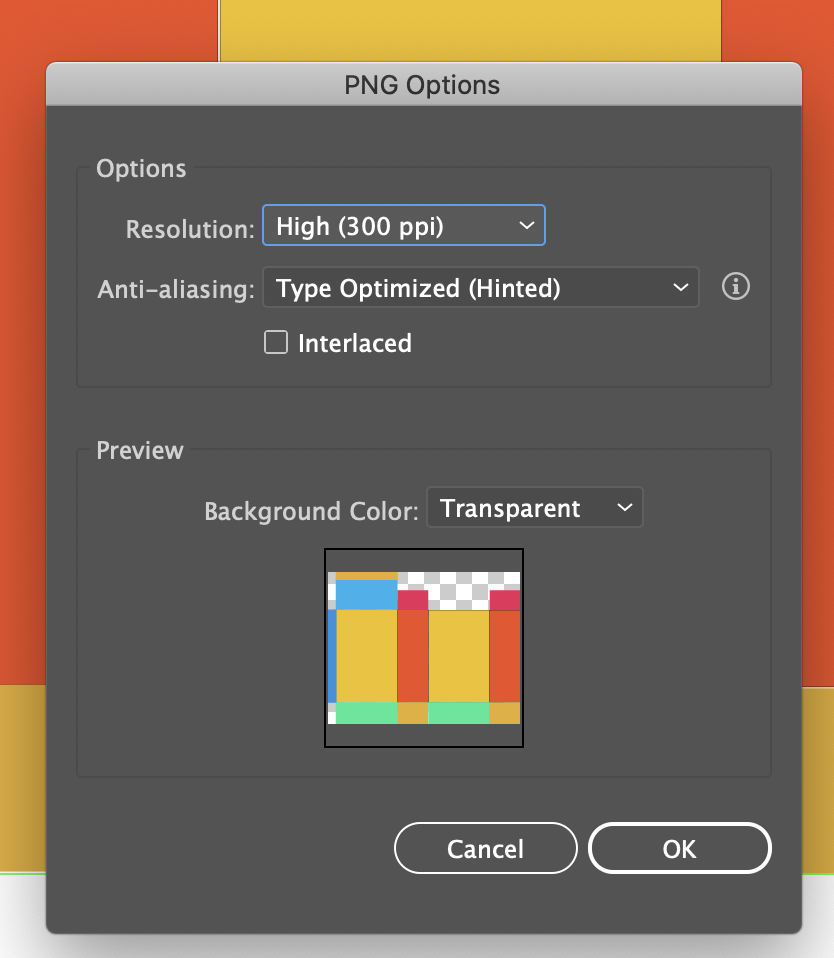
Select “Export As” and select the format as “PNG”. Make sure "Use artboards" is selected.
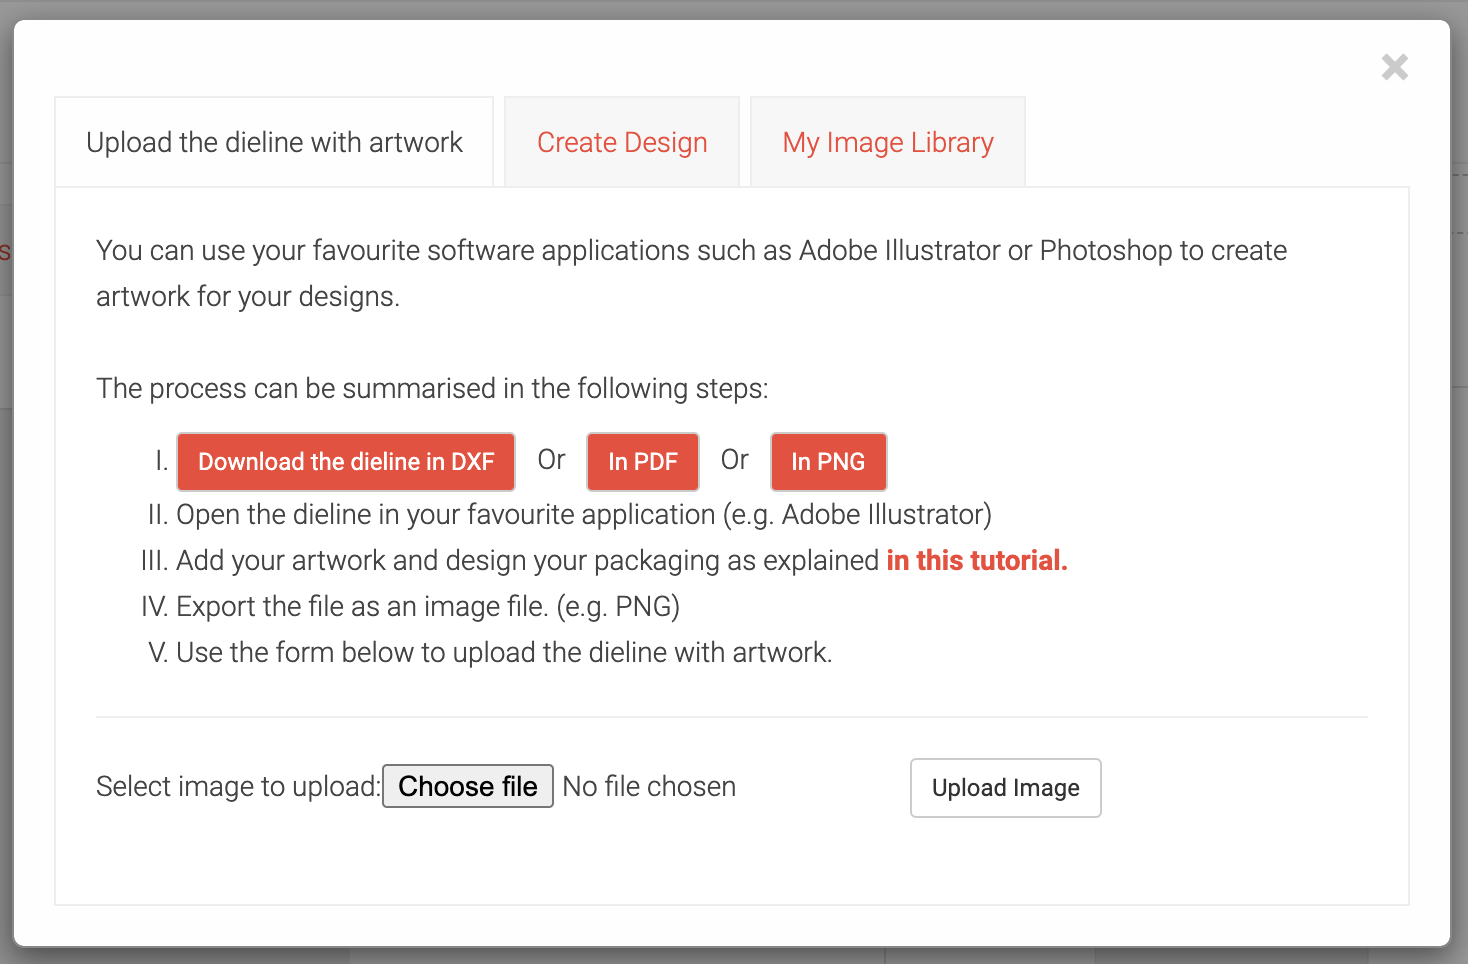
Upload the exported file to Die Cut Templates.
And finally, we are ready to see our design in 3D. Go back to Die Cut Templates and open the 3D view and the image upload popup. Click on the "Choose file" and select the file you just exported. Click "Upload Image"
3D view is ready.
All done!
Use the “Clipping Mask“ tool.
As we mentioned previosly, exporting the file in the correct size is very important. One way to achieve is to use the artboard tool we just explained. Another tool we can use is the "Clipping mask" tool
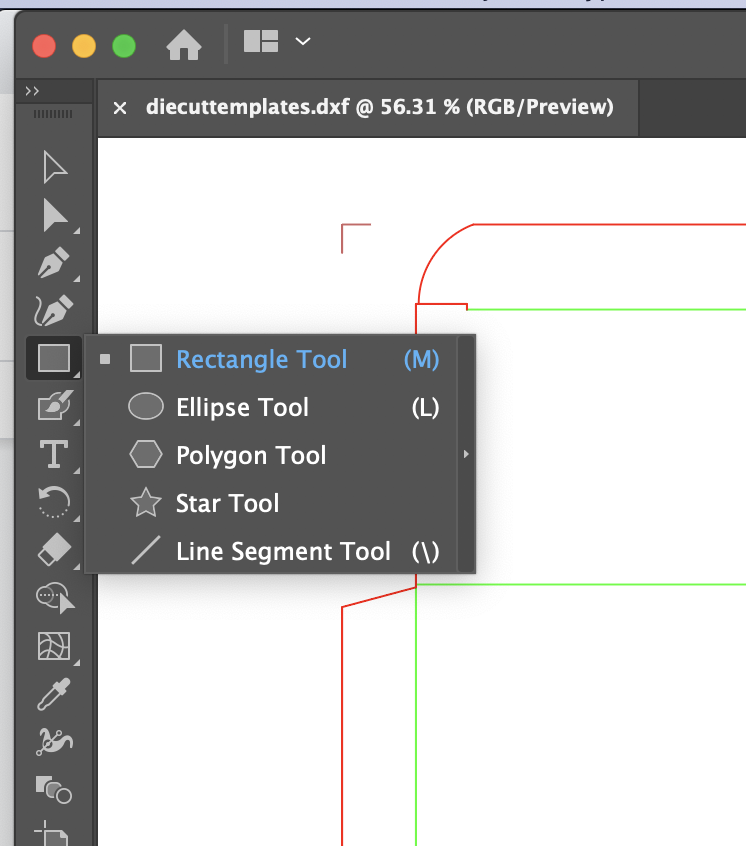
Create a rectangle matching the edge markers
Use the rectangle tool to create a rectangle matching the edge markers.
Make the “Clipping Mask”
Hide other layers and select “Symbol” and the “artwork” layer. And make the “Clipping Mask”.
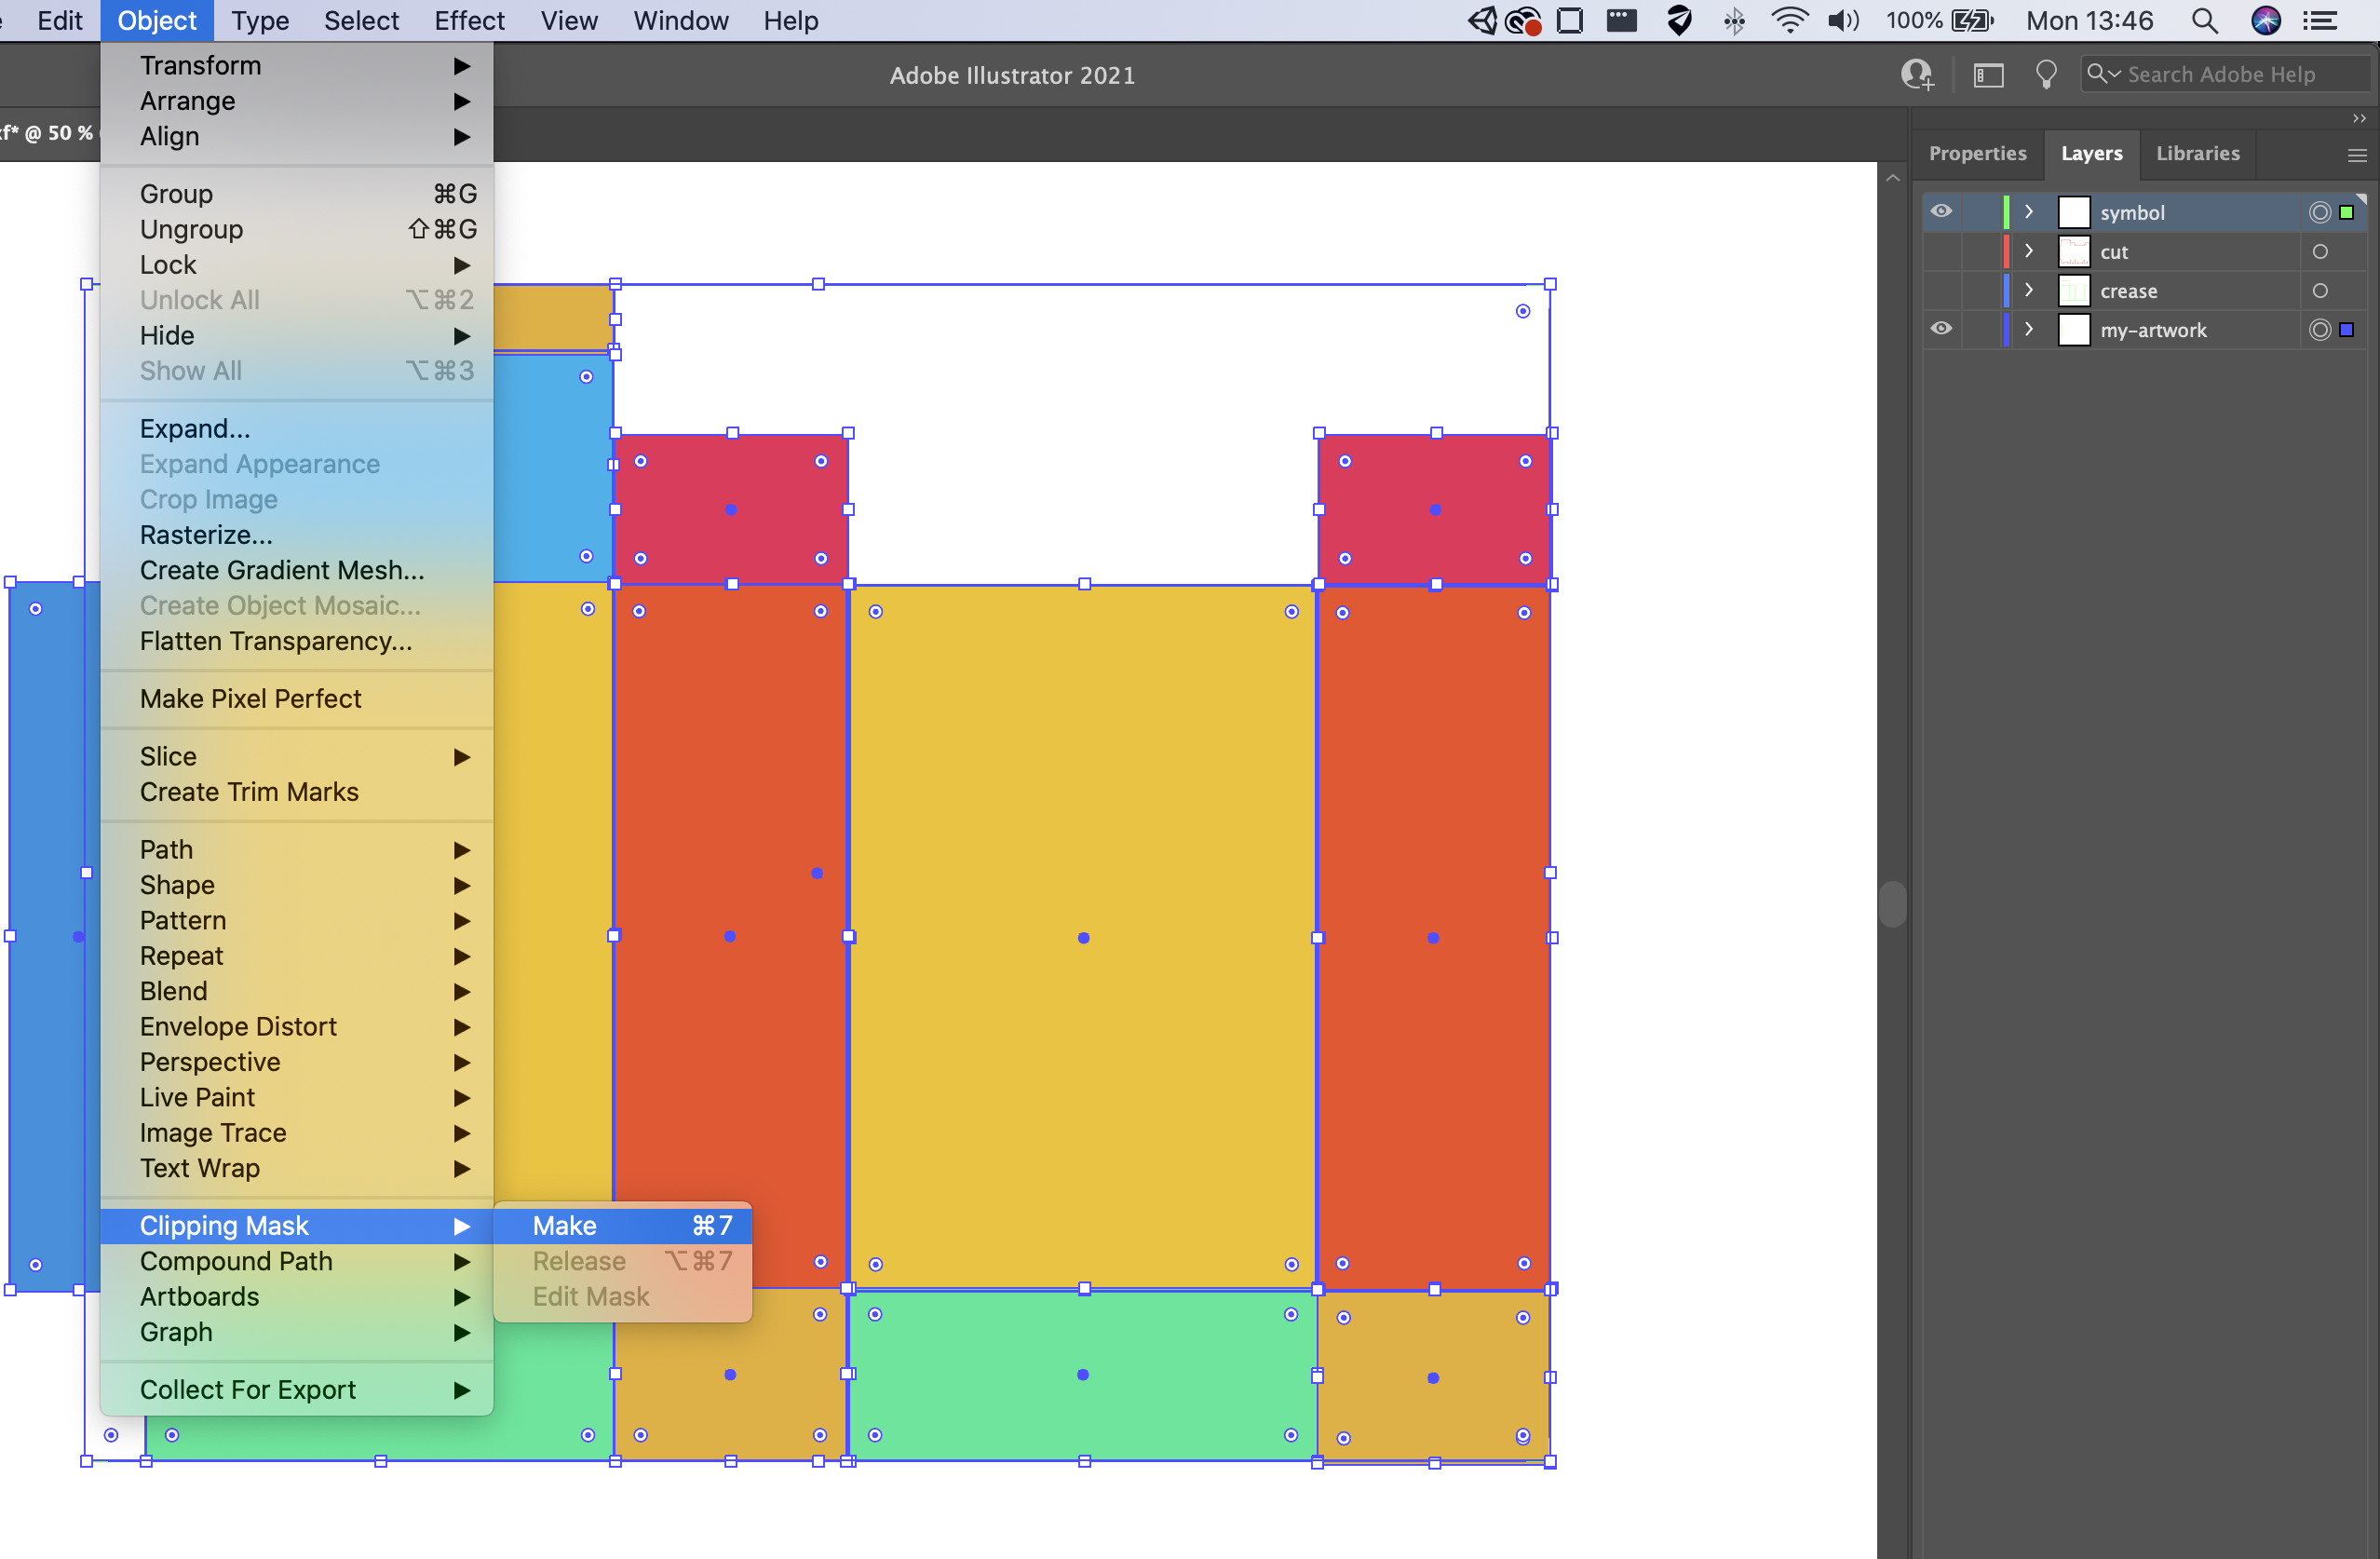
When the mast is created, the page should like this.
Export as an image”
Now we can export this like this.
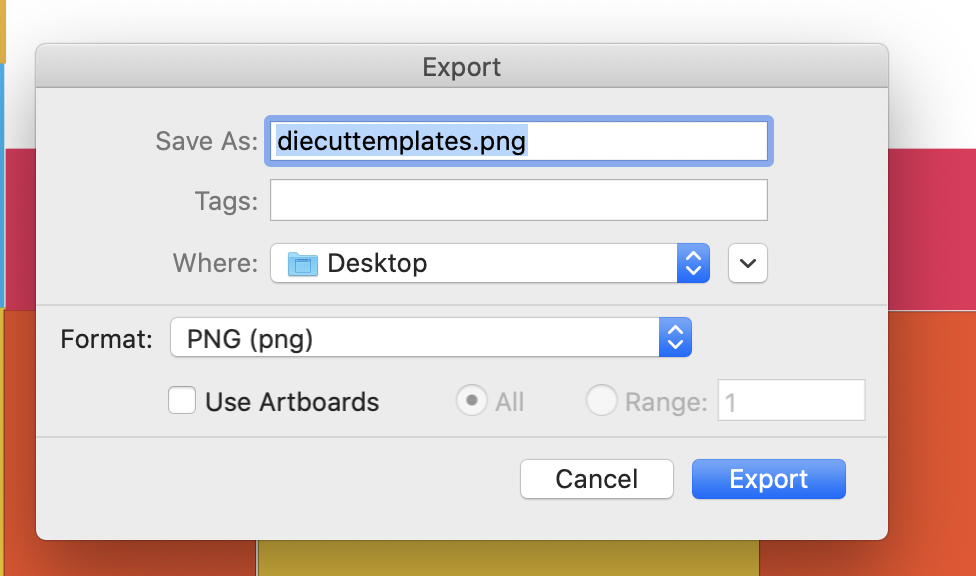
Note that “Use Artboard” is not checked. Click the "Export" button and save the image.
Upload the exported file to Die Cut Templates.
And finally, we are ready to see our design in 3D. Go back to Die Cut Templates and open the 3D view and the image upload popup. Click on the "Choose file" and select the file you just exported. Click "Upload Image"
3D view is ready.
All done!